M2Slim Build Guide ch3 Shell cut and assembly
WIP.
TODO: Break up into sections for better load times.DISCLAIMER: While I have done my best to make the install and documentation as easy as possible this is still an advanced mod requiring tools and good soldering and craft skills (if cutting the shell by hand). I would not recommend this to a beginner. Please seek a professional installer if you do not feel confident with any of the steps described in the build instructions.Tools and consumables:
- Temperature controlled soldering iron
- Brass soldering tip cleaner
- Tweezers
- Solder
- Flux
- Kapton Tape
- 2mm drillFor DIY shell cut:
- 9mm snap off blade cutter (olfa style)
- Cheap non-brittle blades
- Hot glue gun
- Sheet metal nibbler
- etc
Step 6.1 Disassemble the disk drive door.
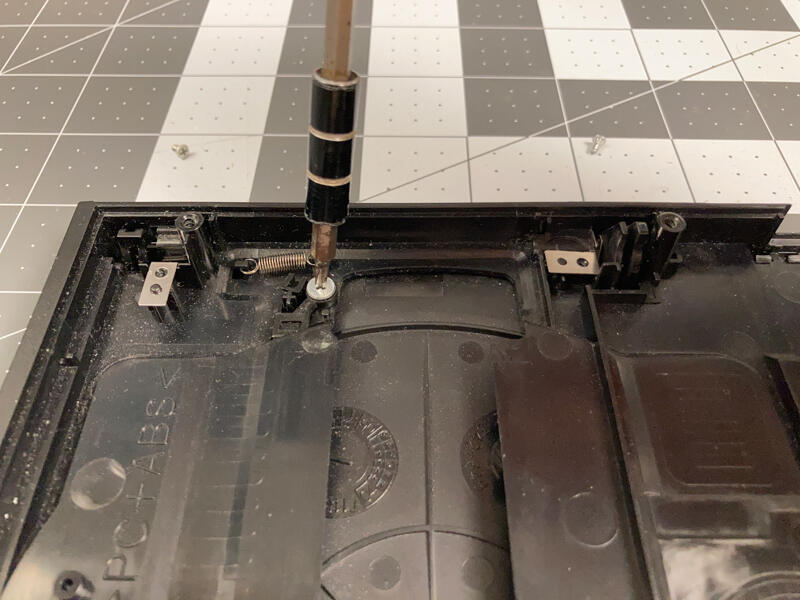
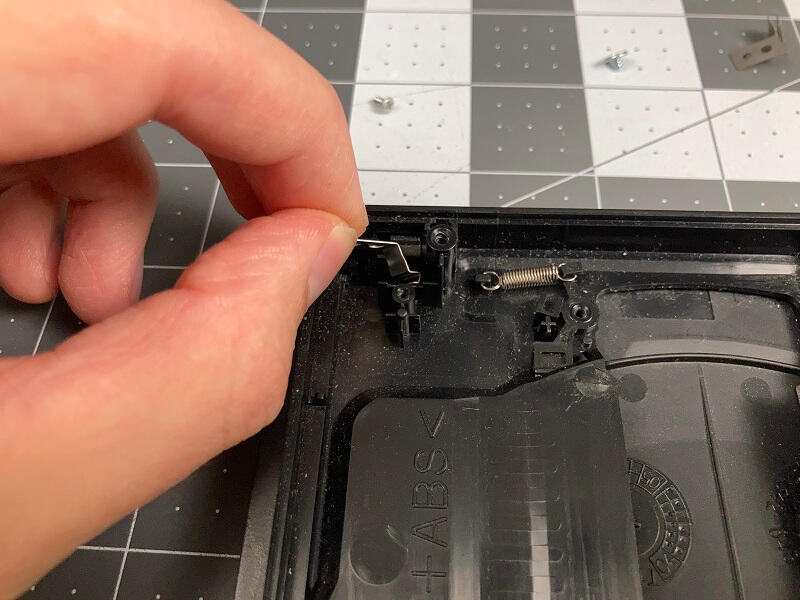
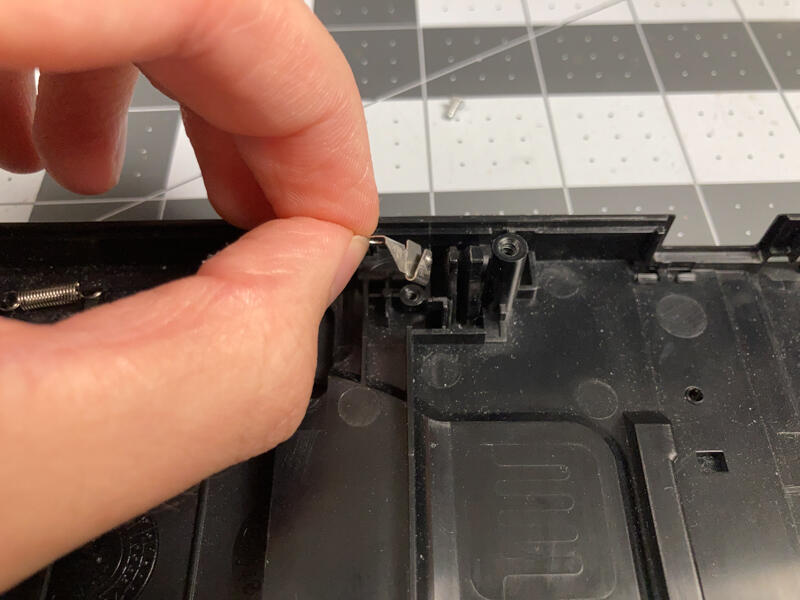
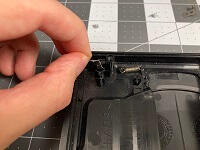
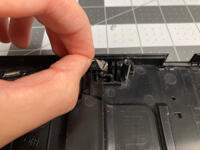
Remove the two screws holding the metal retention parts.
Lift them out.
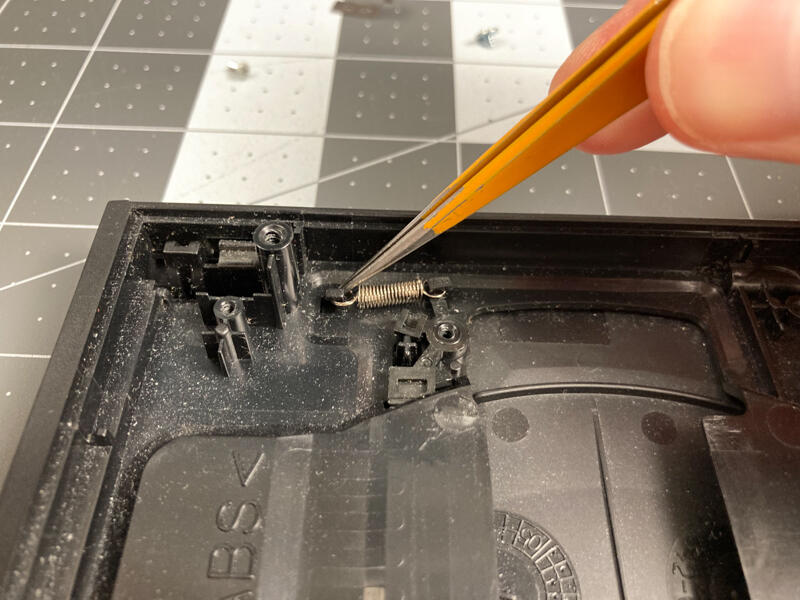
Step 6.2 Remove disk brake mechanism
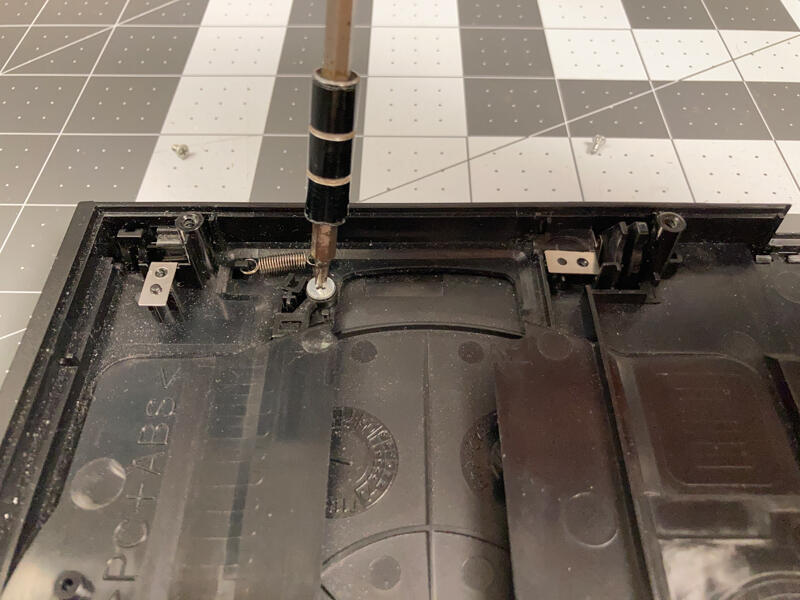
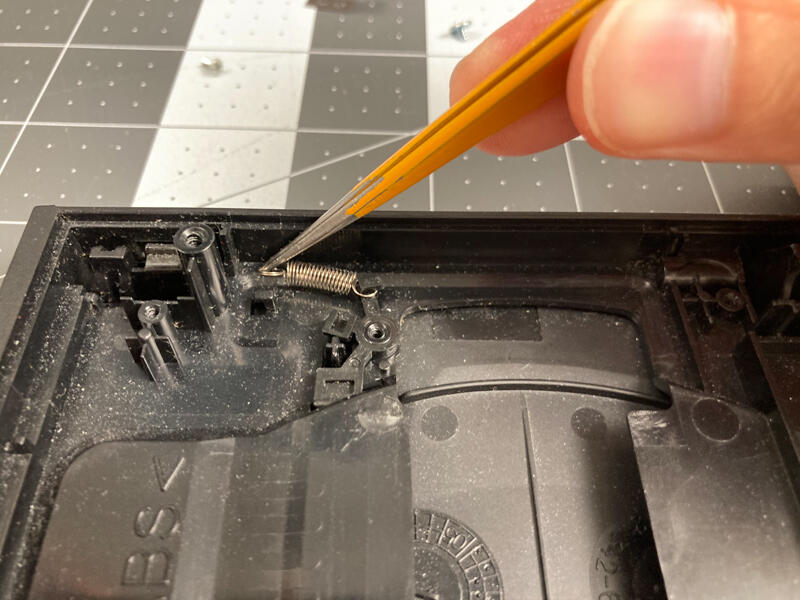
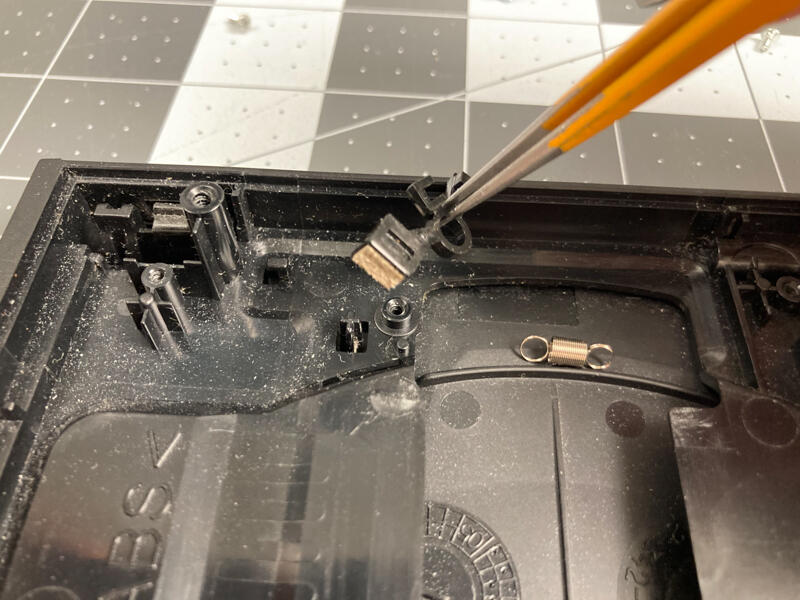
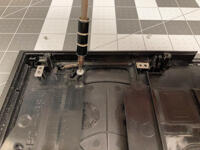
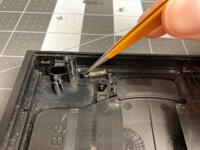
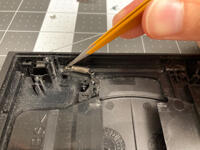
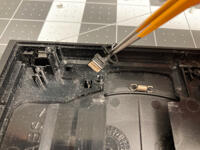
Unscrew the brake.
Remove the spring from the shell
Lift the brake out
It is a tight fit and might take a few attempts to fish out.
Step 6.3 Remove door
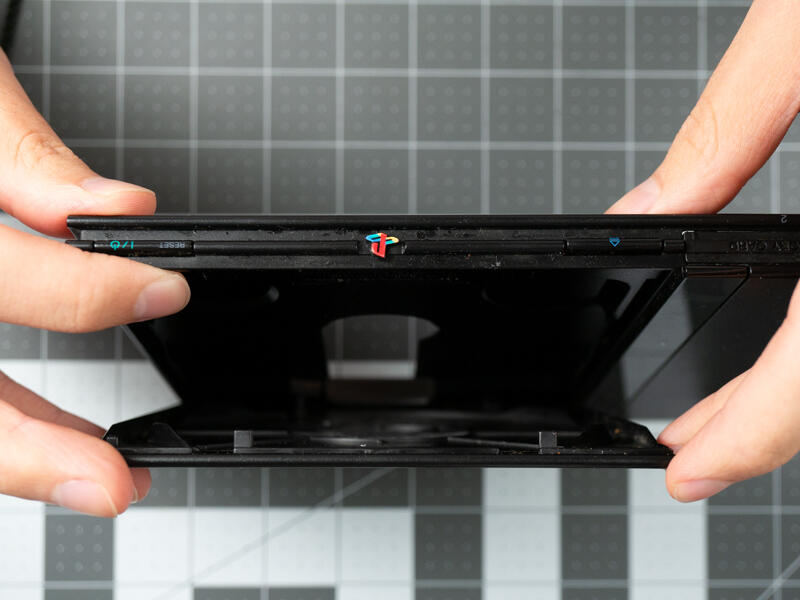
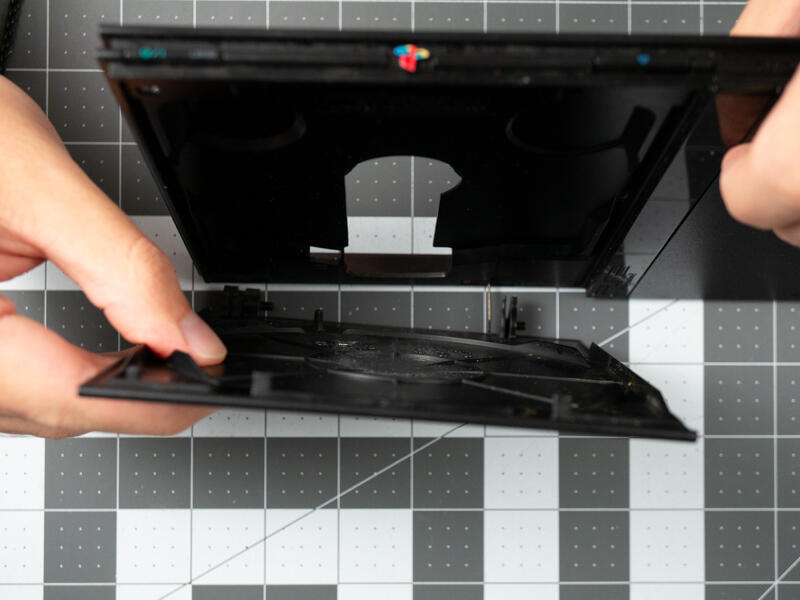
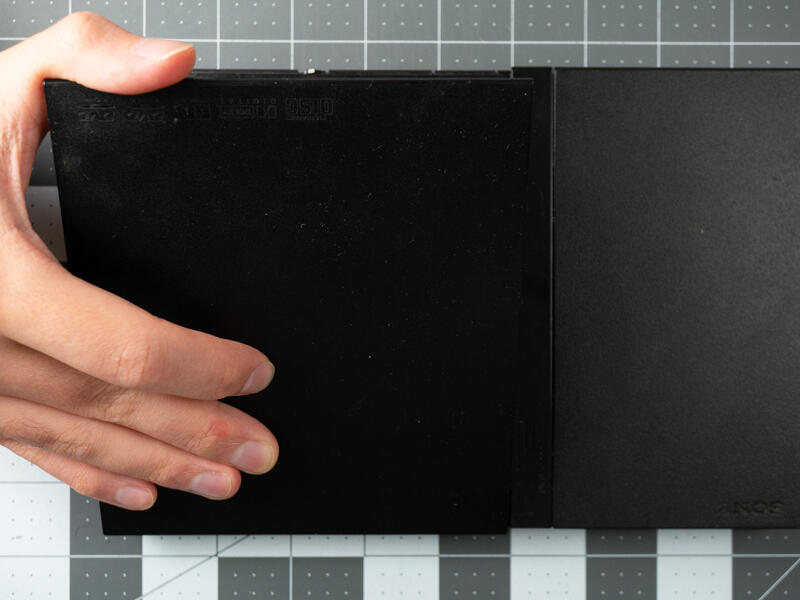
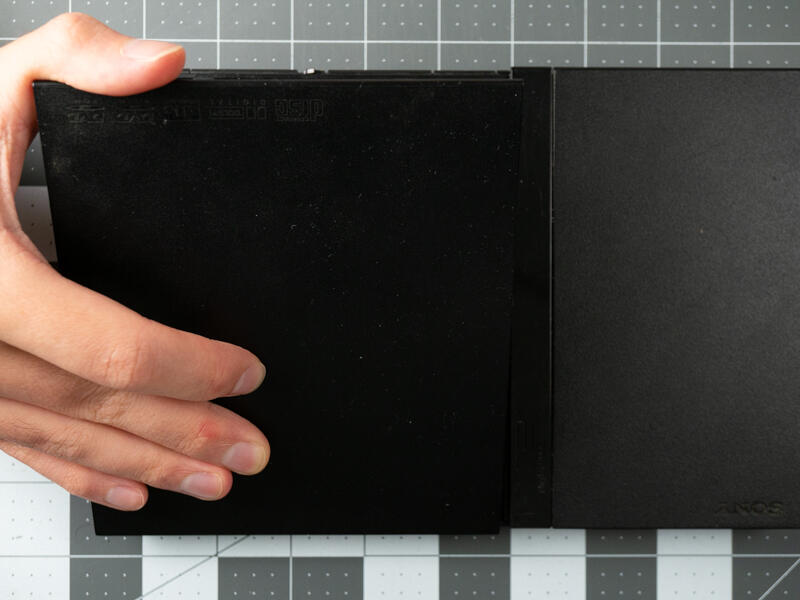
Unscrew the brake.
Remove the spring from the shell
Lift the brake out
It is a tight fit and might take a few attempts to fish out.
Step 6.4 Remove door spring
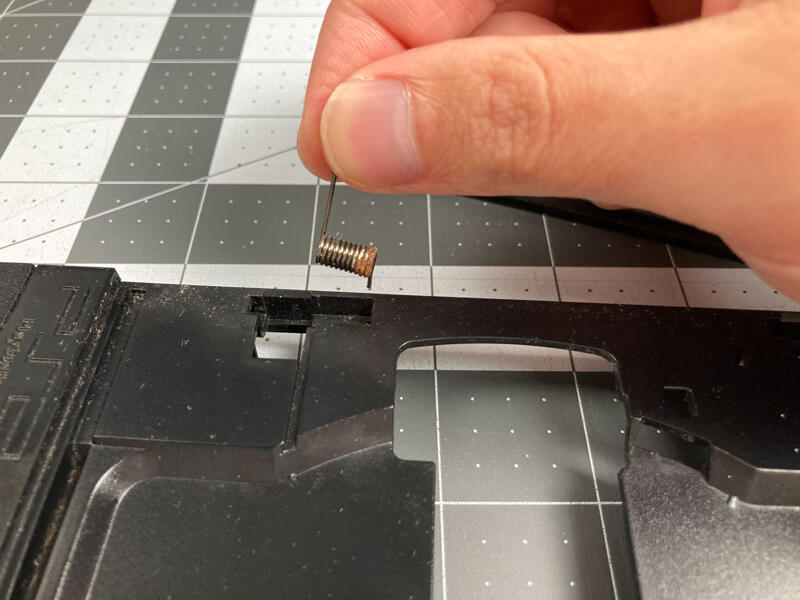
Lift the door spring out of its recess.
Step 7.1 Trim disk door
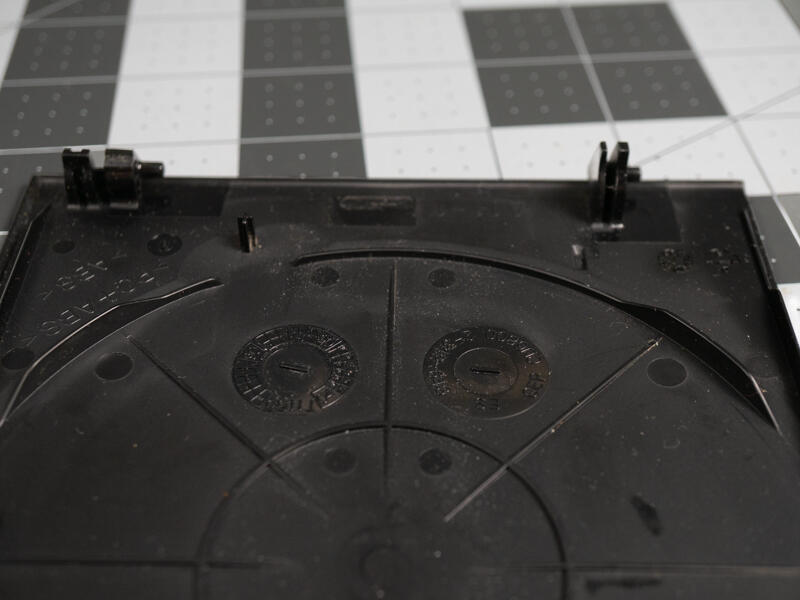
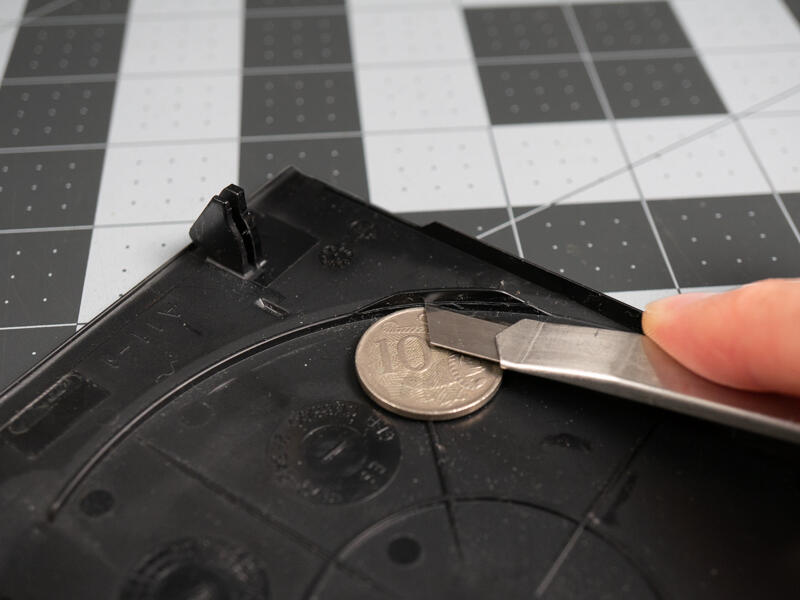
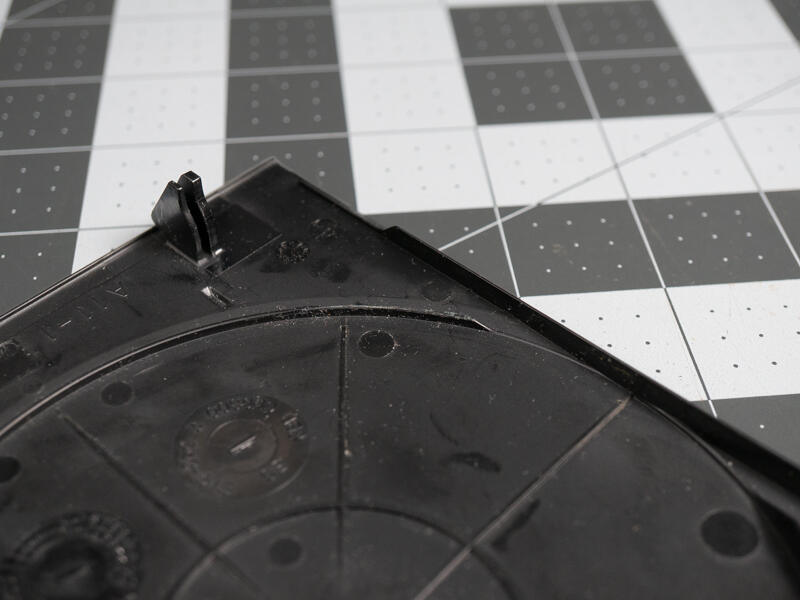
Remove the indicated plastic tab on the disk drive.
Use a small spacer such as a coin to score a line in the plastic.
Make repeated cuts with or without the spacer until the plastic is removed.
You may also use flush cutters or any another tool you are comfortable to remove this plastic.
Step 7.2 Trim structural rib
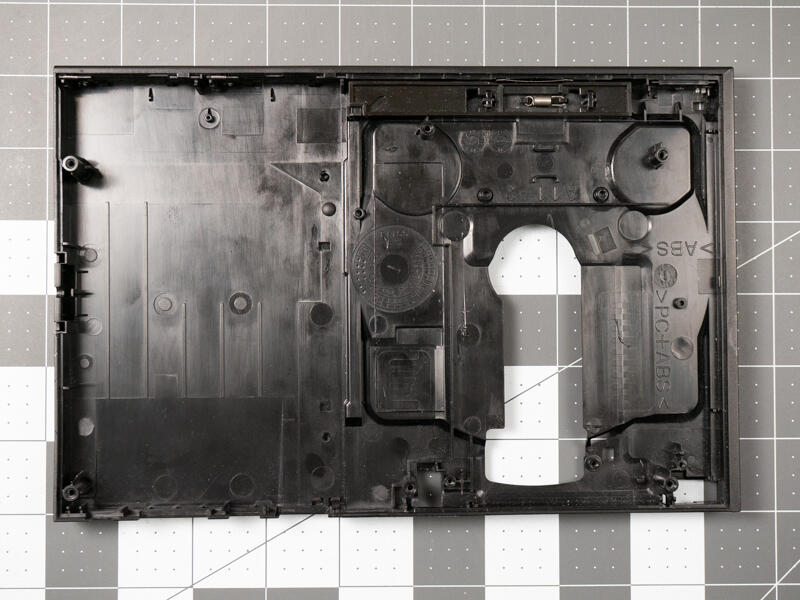
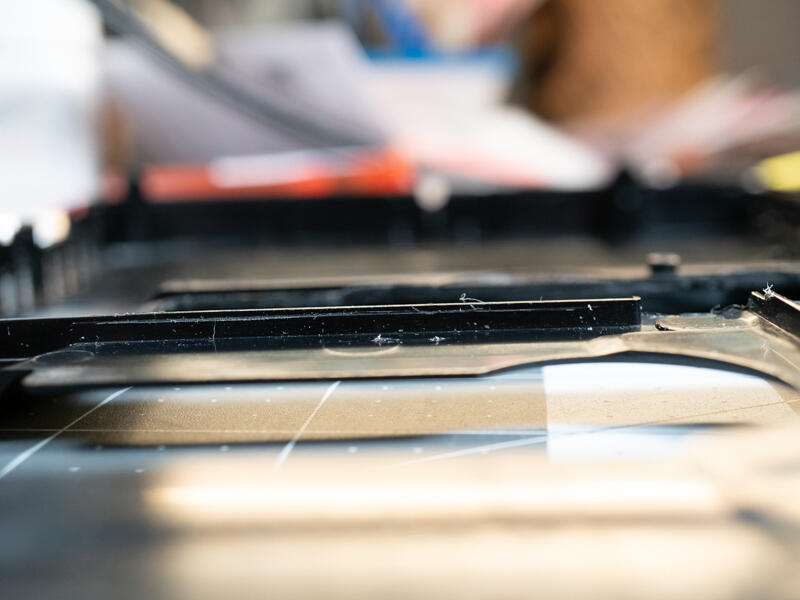
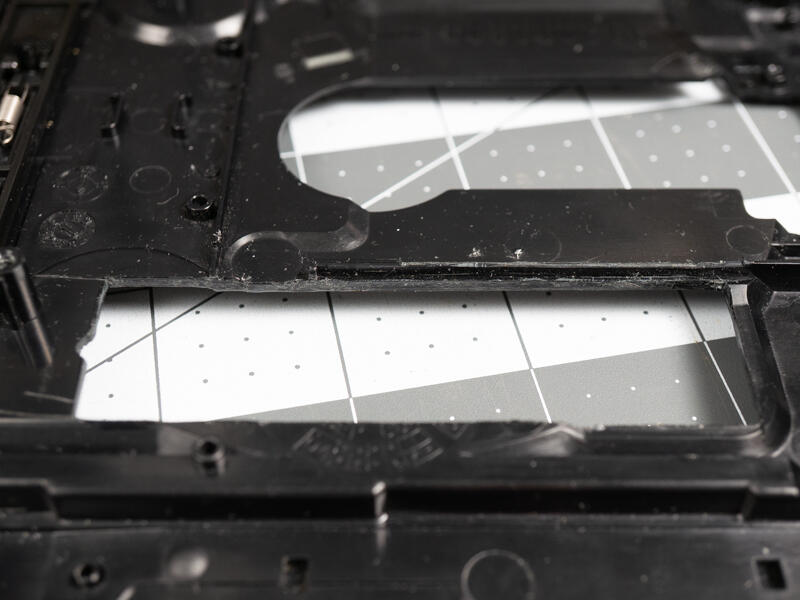
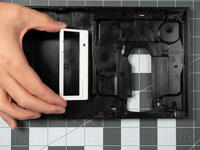
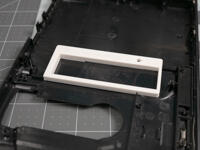
Trim the plastic rib that was used for jig alignment to make space for the M2Slim board when assembled.
I removed 1mm of plastic here but 1.5mm would be better for clearance. This rib lies directly on top of the solder joints of the adapter board and flex PCB.
You can remove the entire rib but it will make the plastic noticeably less rigid. It does not structurally mater but I prefer to leave as much as possible.
Step 8.1 Align shell cut jig
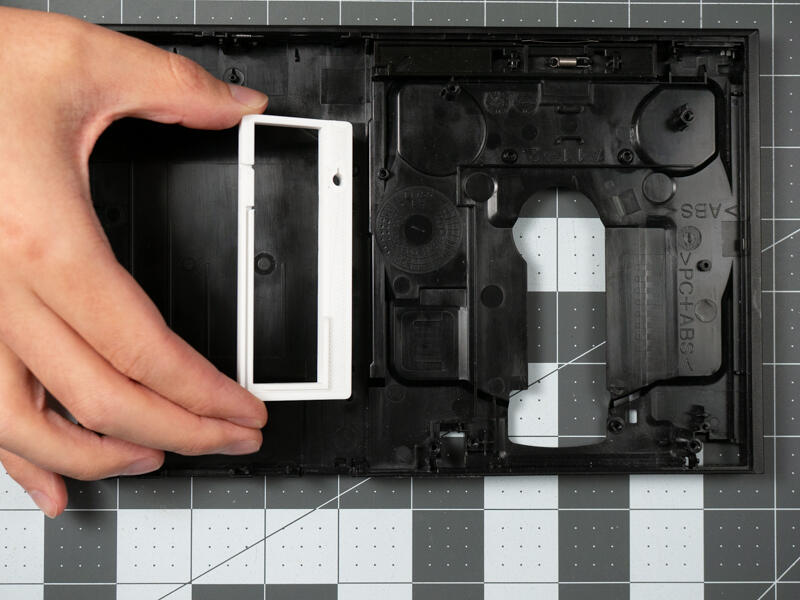
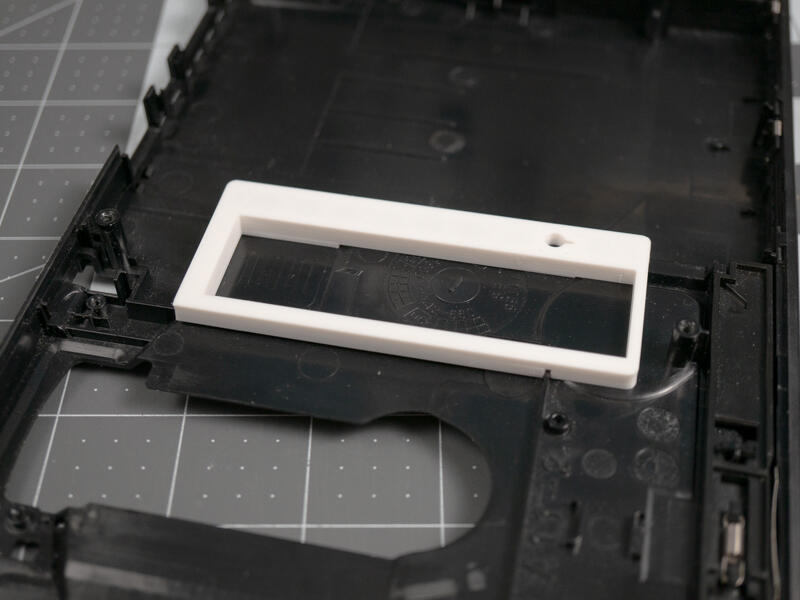
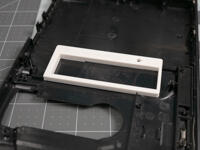
Line up the hole and groove with the features shown on the top shell.
There should be minimal play once the jig is aligned into place.
Step 8.2 Secure jig to shell
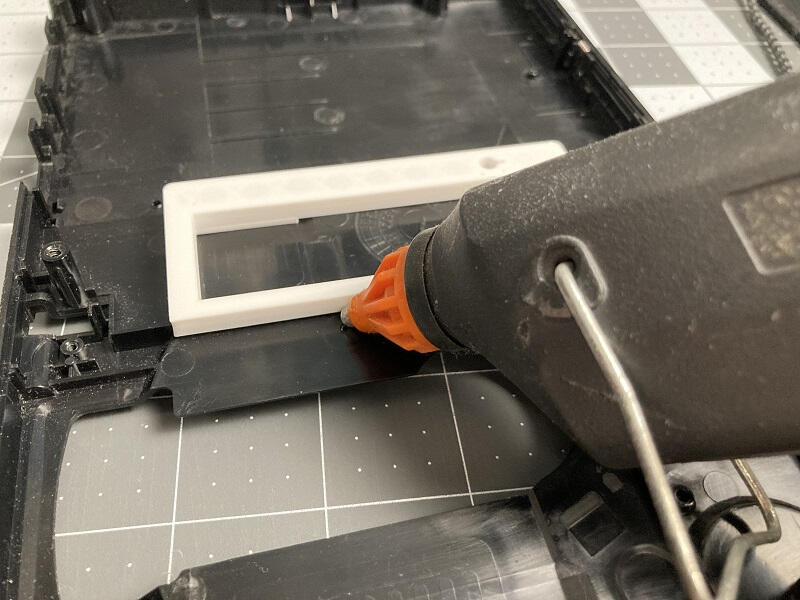
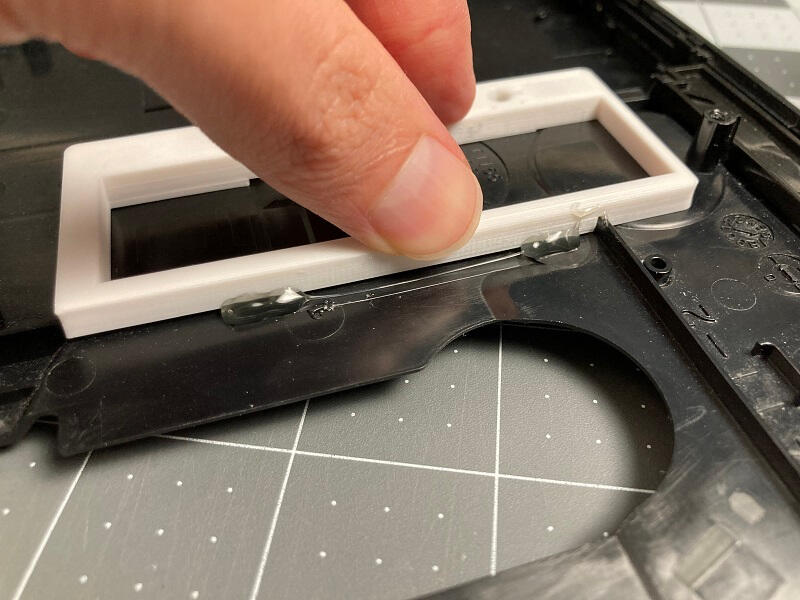
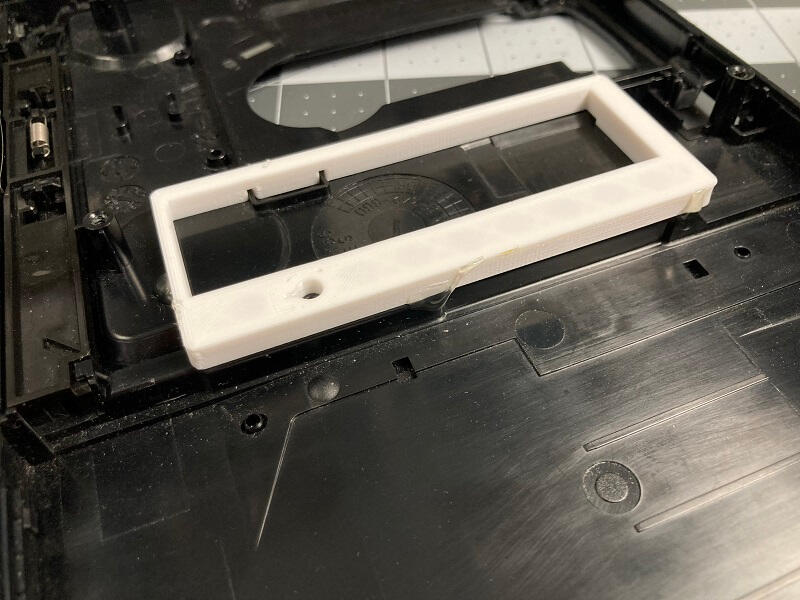
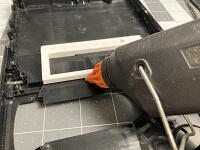
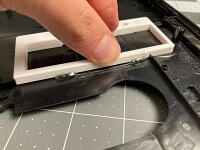
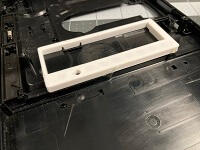
Use a temporary adhesive such as hot glue to secure the jig while cutting.
Hold the jig in place to ensure it remains seated and aligned properly while the adhesive sets.
Place glue on the other sides.
Don't go overboard as you will need to remove the glue later.
Step 8.3 Establish the guide cut
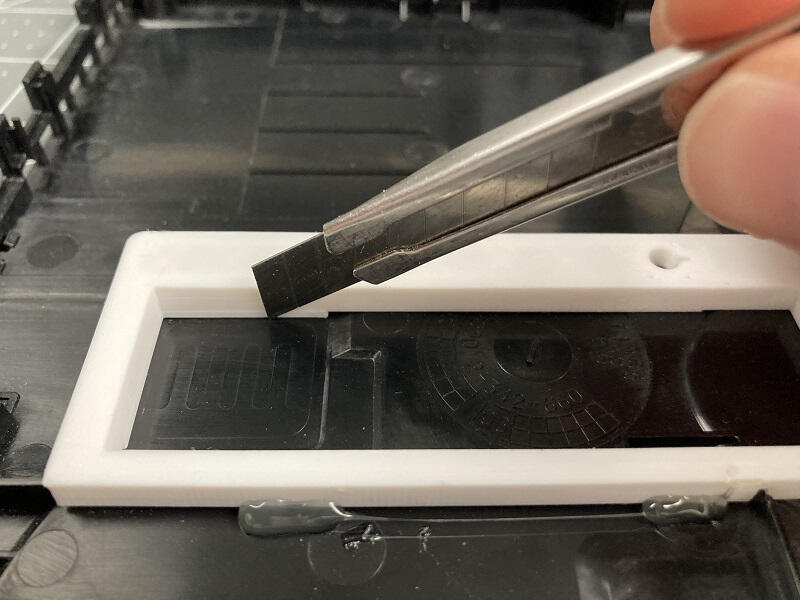
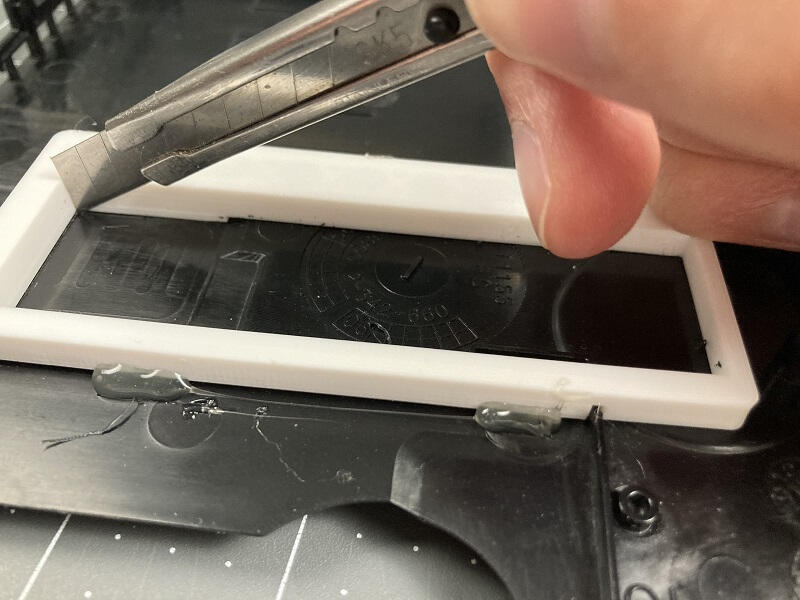
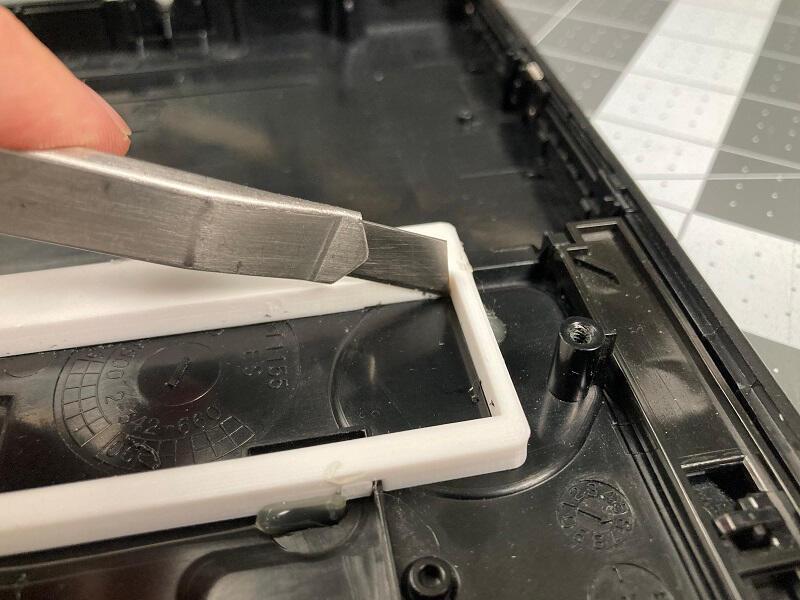
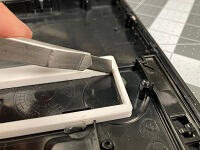
Keeping the blade aligned and pressed up against the jig make light passes along each side until you create a small groove.
Make sure you get into each corner. This will take several passes.
The goal is to create an accurate guide groove that the blade will easily follow.
Do not use excessive force as it both increases the chance you will slip and makes the resulting cut harder to correct.
Step 8.4 Remove jig to continue cutting
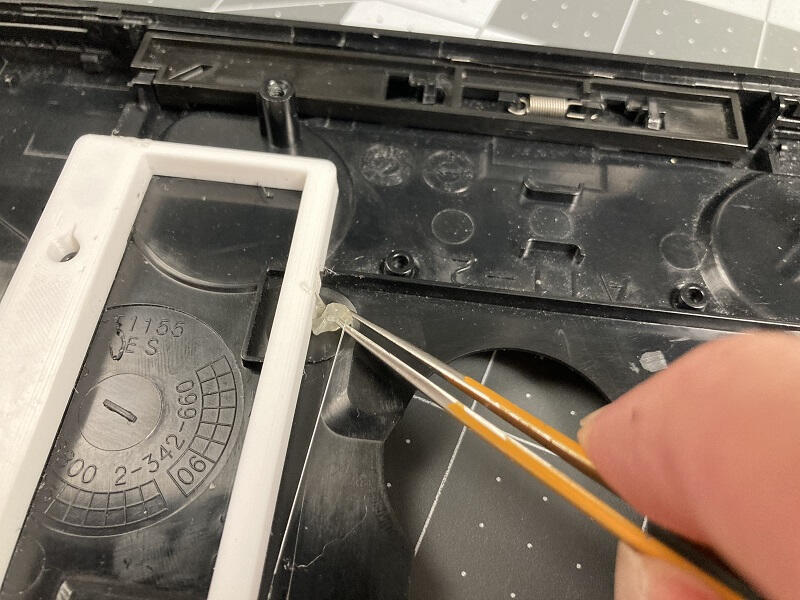
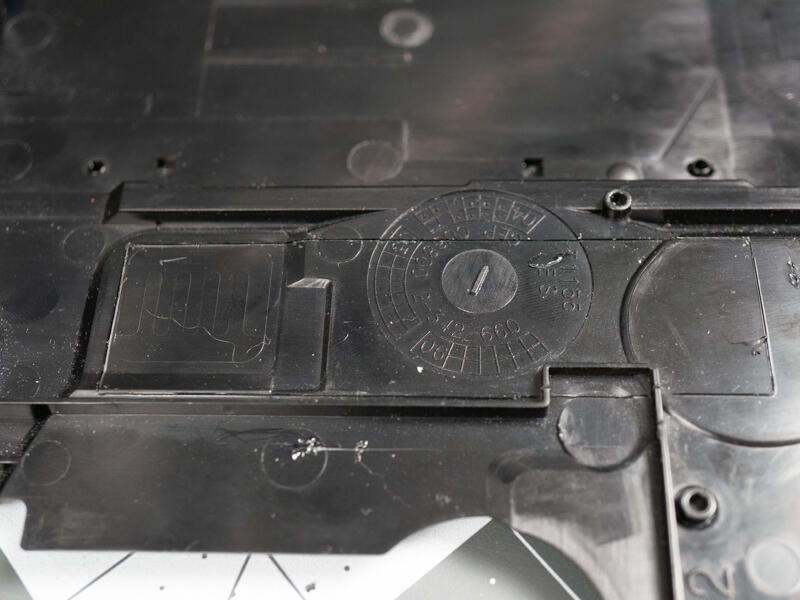
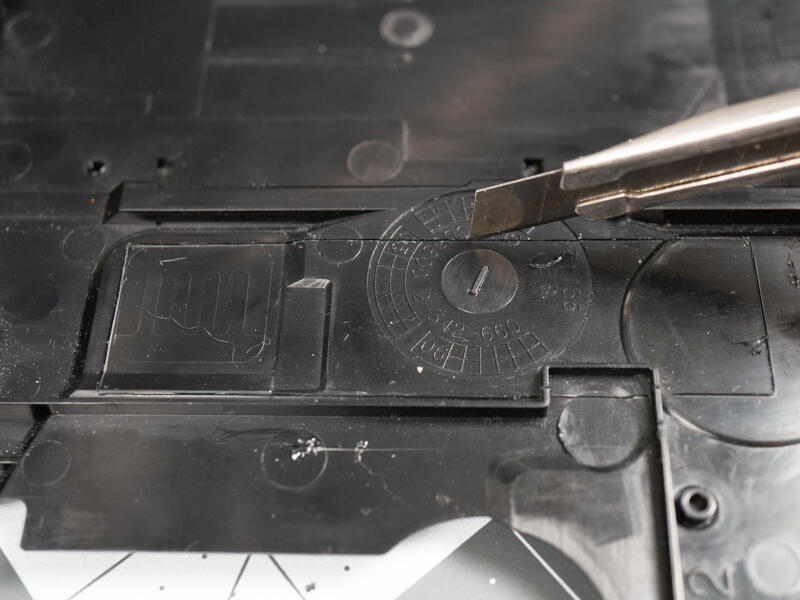
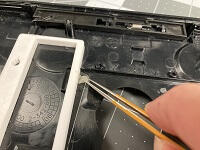
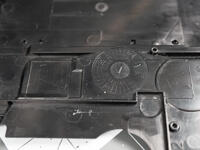
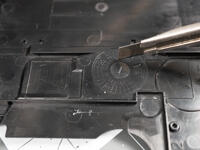
Once the cut is ~1mm or cutting becomes too difficult you may remove the jig to continue cutting.
The cut should be deep enough for the blade to easily follow.
Step 8.5 Remove the obstructing rib
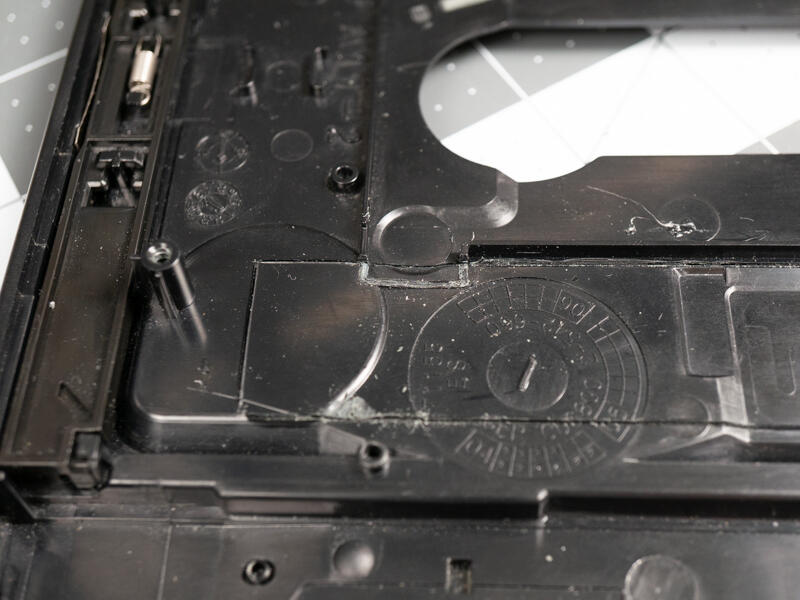
Using flush cutters or a blade carefully remove the structural rib to make cutting easier.
Step 8.6 Trapped in the cutting dimension
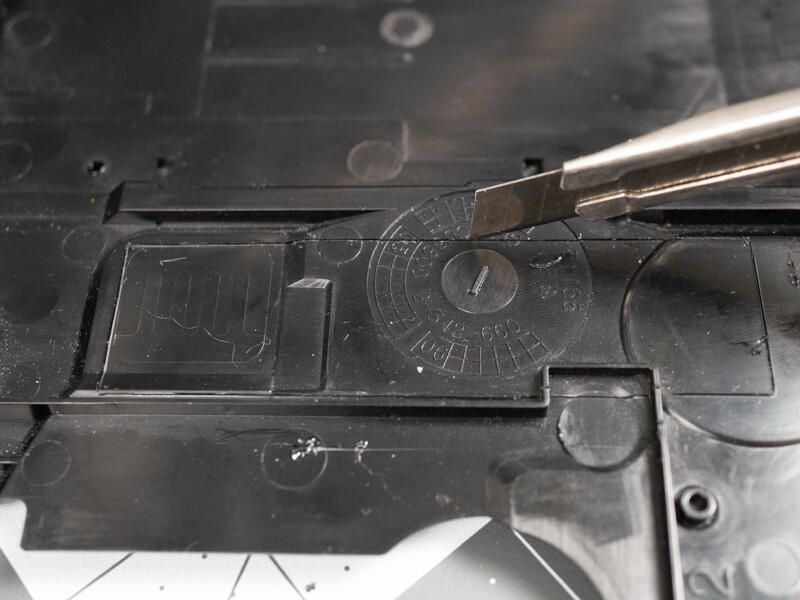
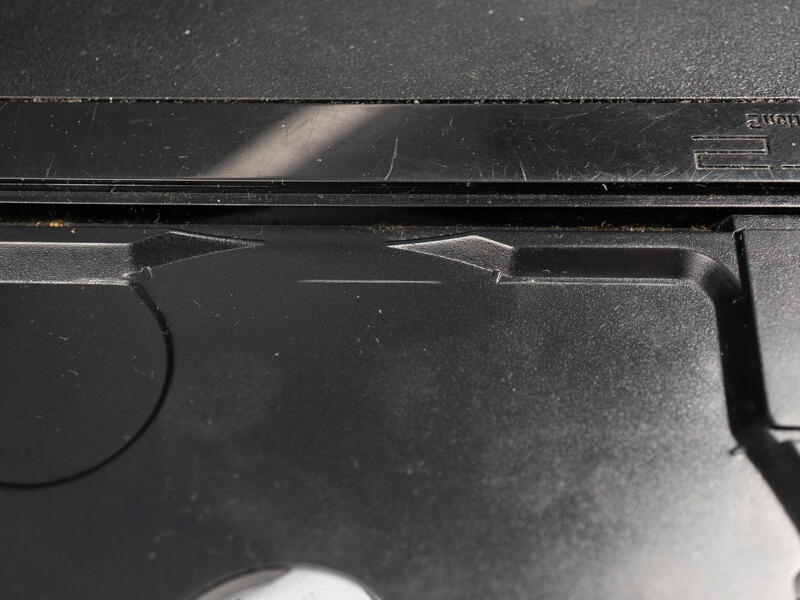
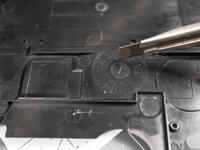
Once the cut is ~1mm deep or cutting becomes too difficult you may remove the jig to continue cutting.
The cut should be deep enough for the blade to easily follow.
Step 8.7 Mark standoff cutout
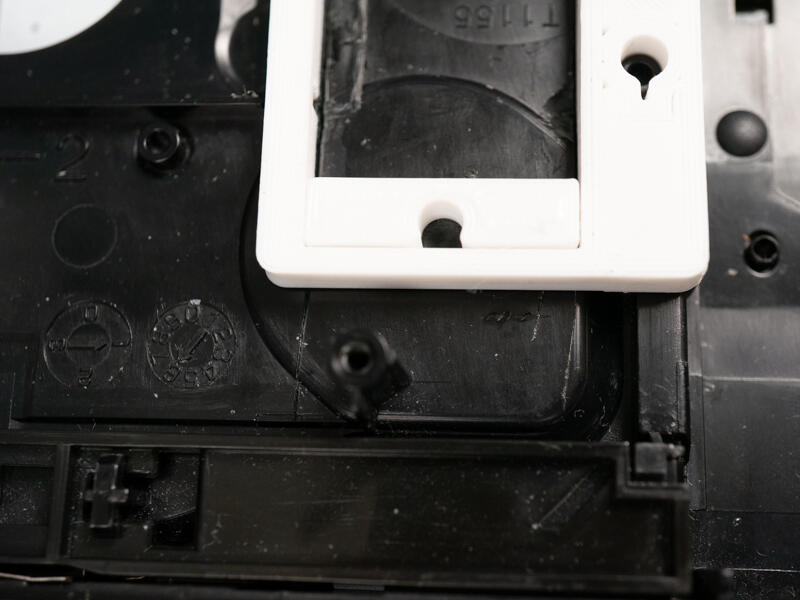
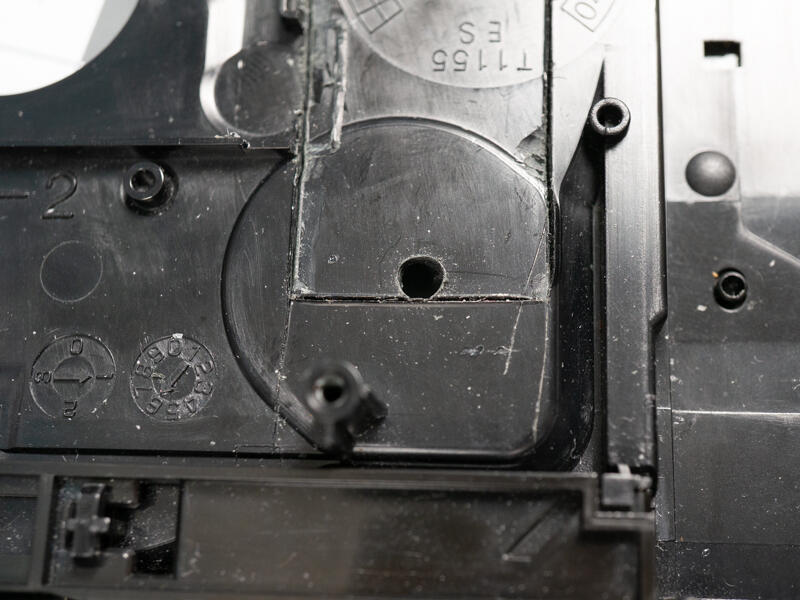
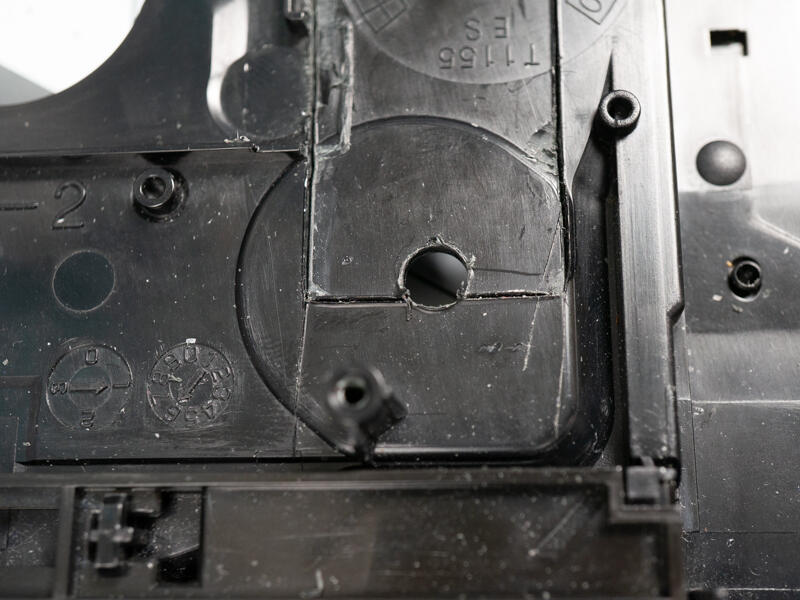
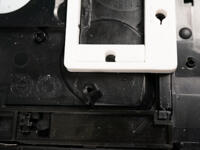
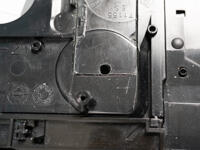
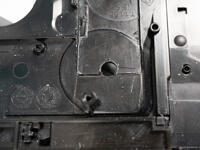
Attach the jig to the shell and insert the plastic drill insert as shown.
Start drilling a pilot hole into the plastic.
You may wish to hold everything together with hot glue.
I found it easiest to make a small marking, remove the jig and continue drilling.
Widen the hole using a 6mm drill or slightly larger if you want more clearance with the M.2 mounting standoff.
Step 8.8 Remove plastic from cutout area
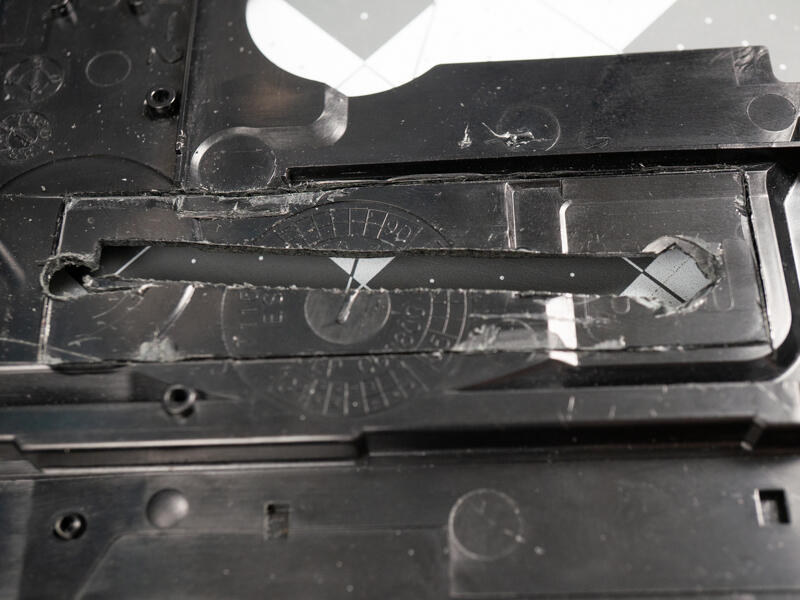
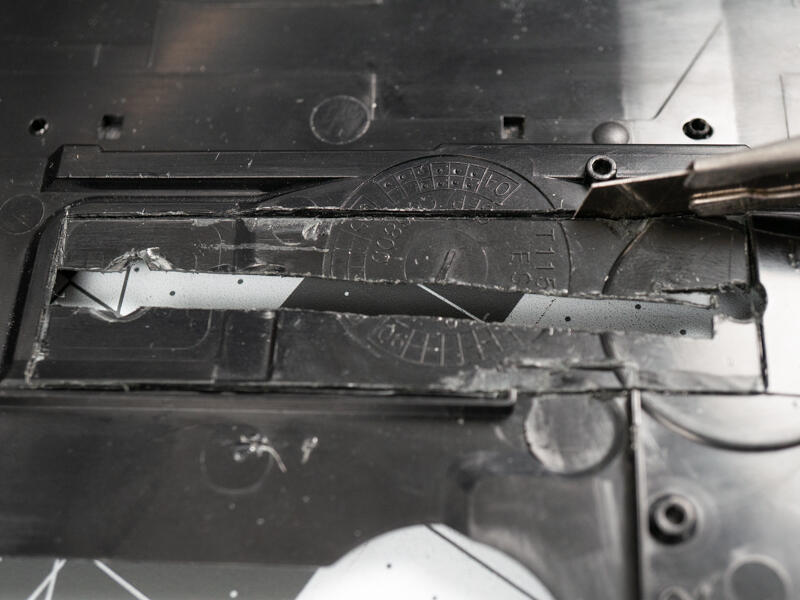
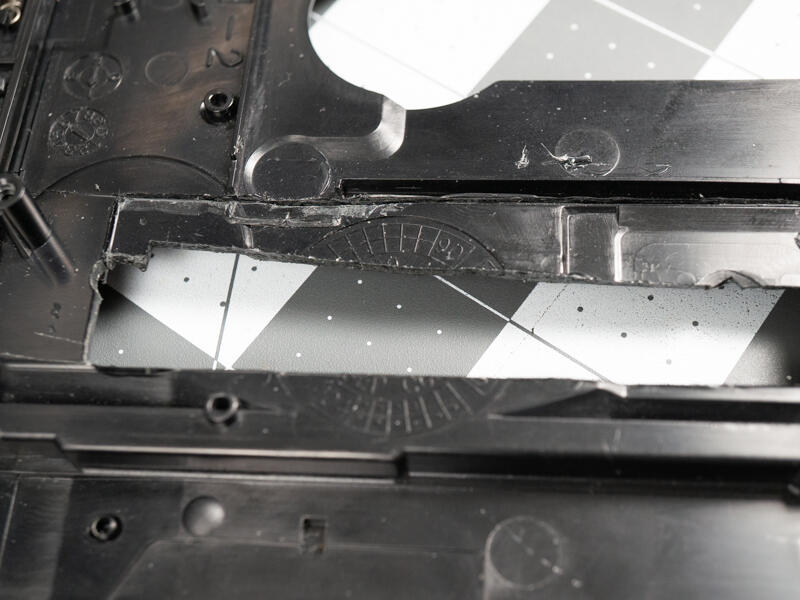
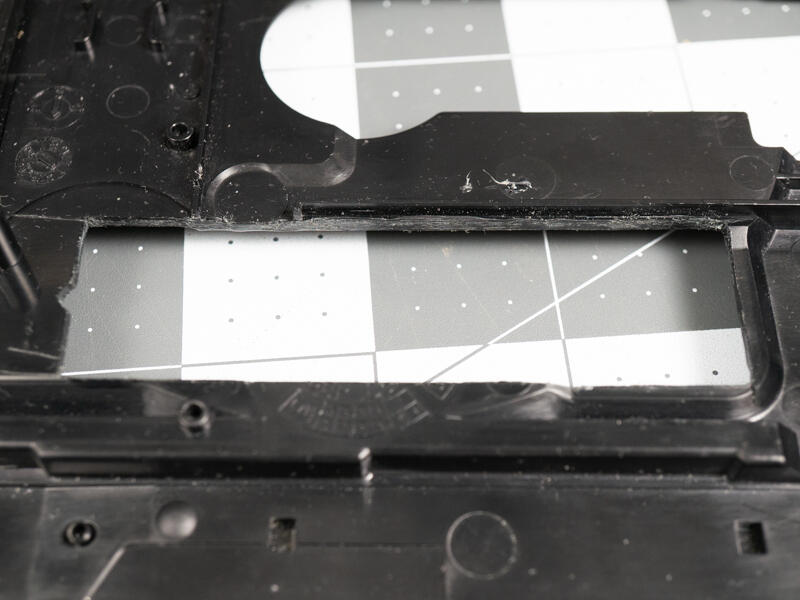
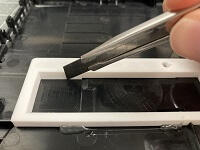
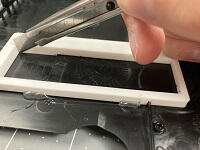
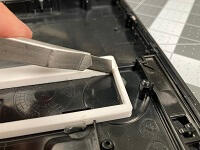
It is recommended to make a rough internal cut in the plastic to assist in removing it and to help prevent tear out on the visible side.
This can be achieved with any tools or methods you have on hand such as a dremel, rasp or fine tooth saw.
The example pictures show the results of using a nibbling tool that was inserted into a large pilot drill hole.
Step 8.9 Admire your work
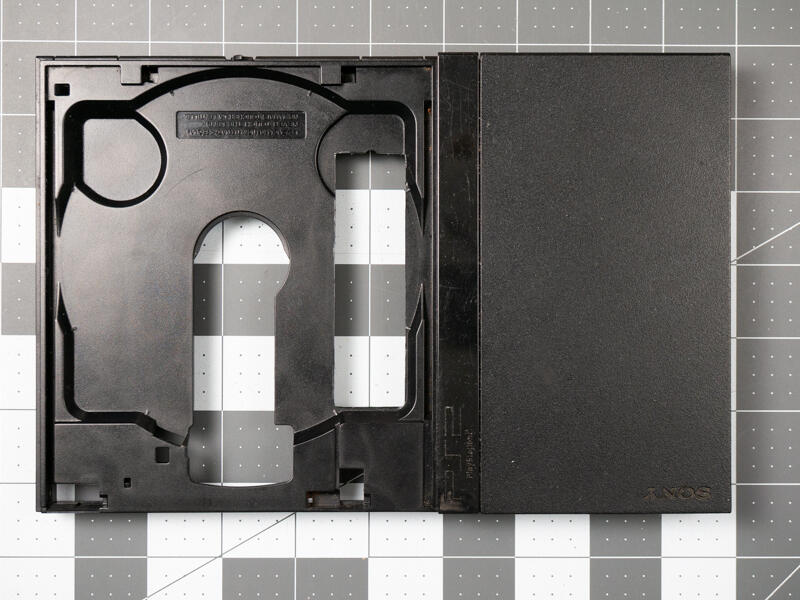
Using flush cutters or a blade carefully remove the structural rib to make cutting easier.